
Last updated November 21, 2026
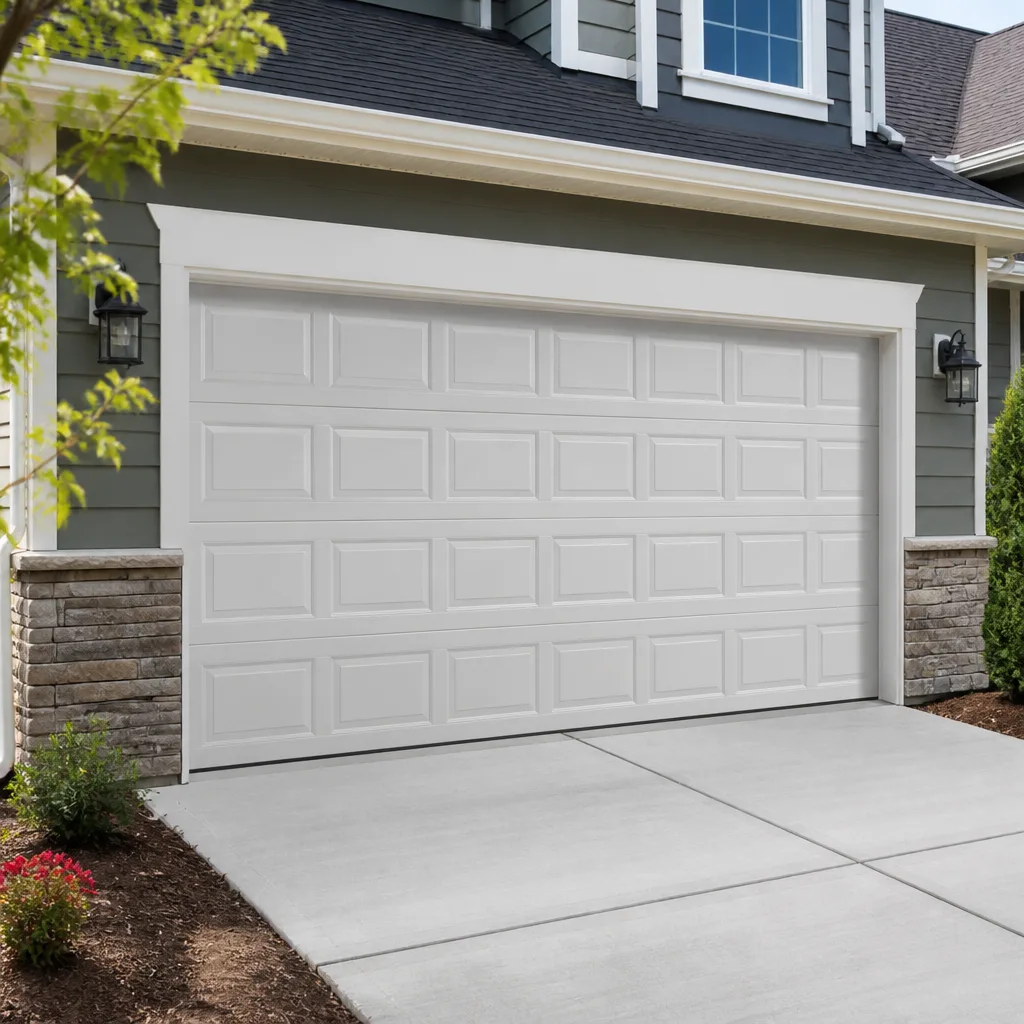 Raised-panel steel
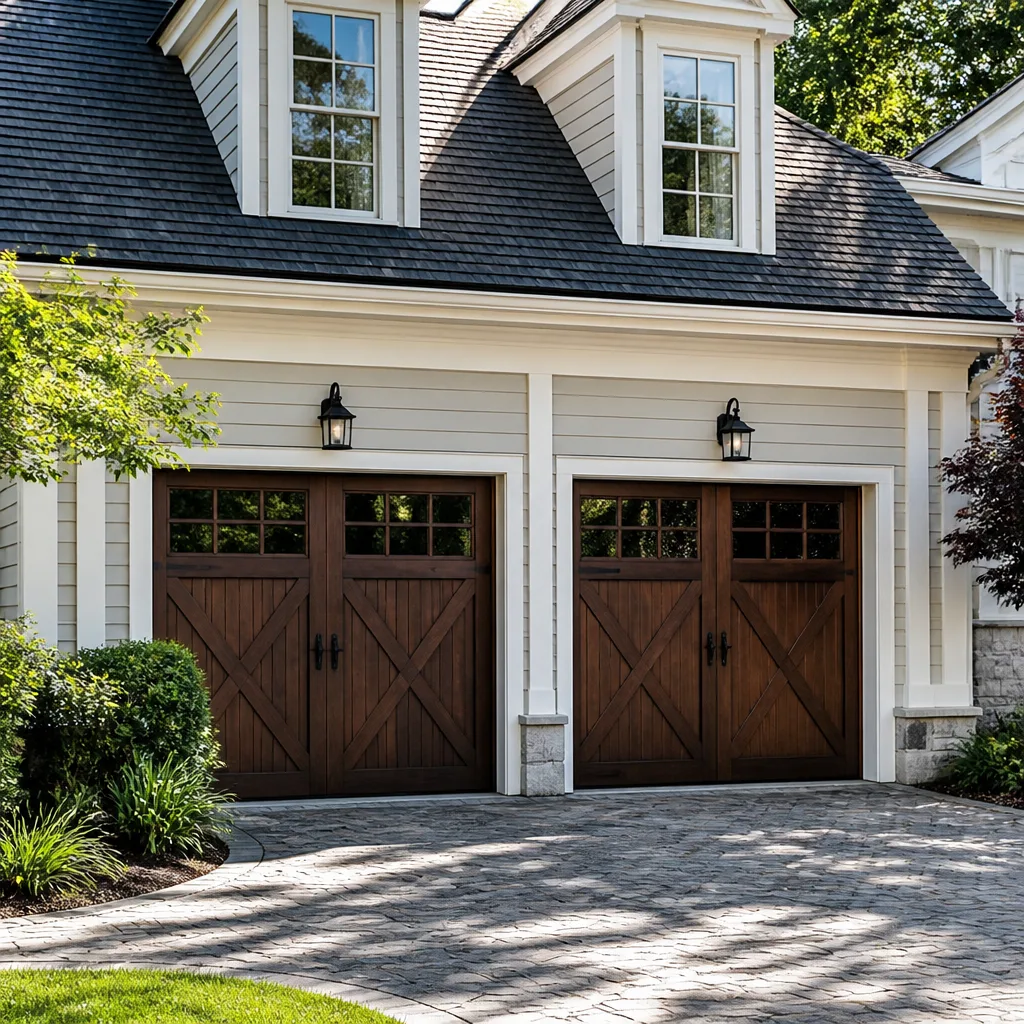 Carriage house
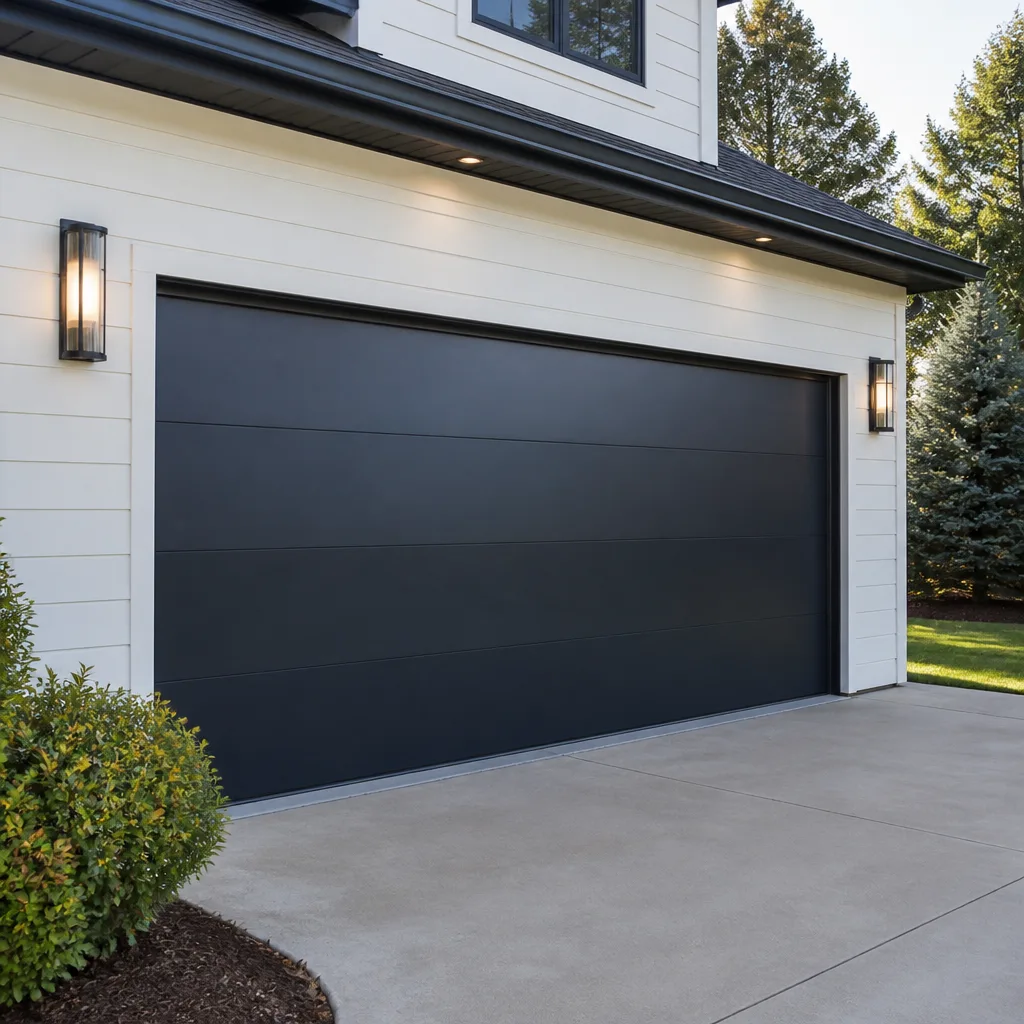 Modern flush
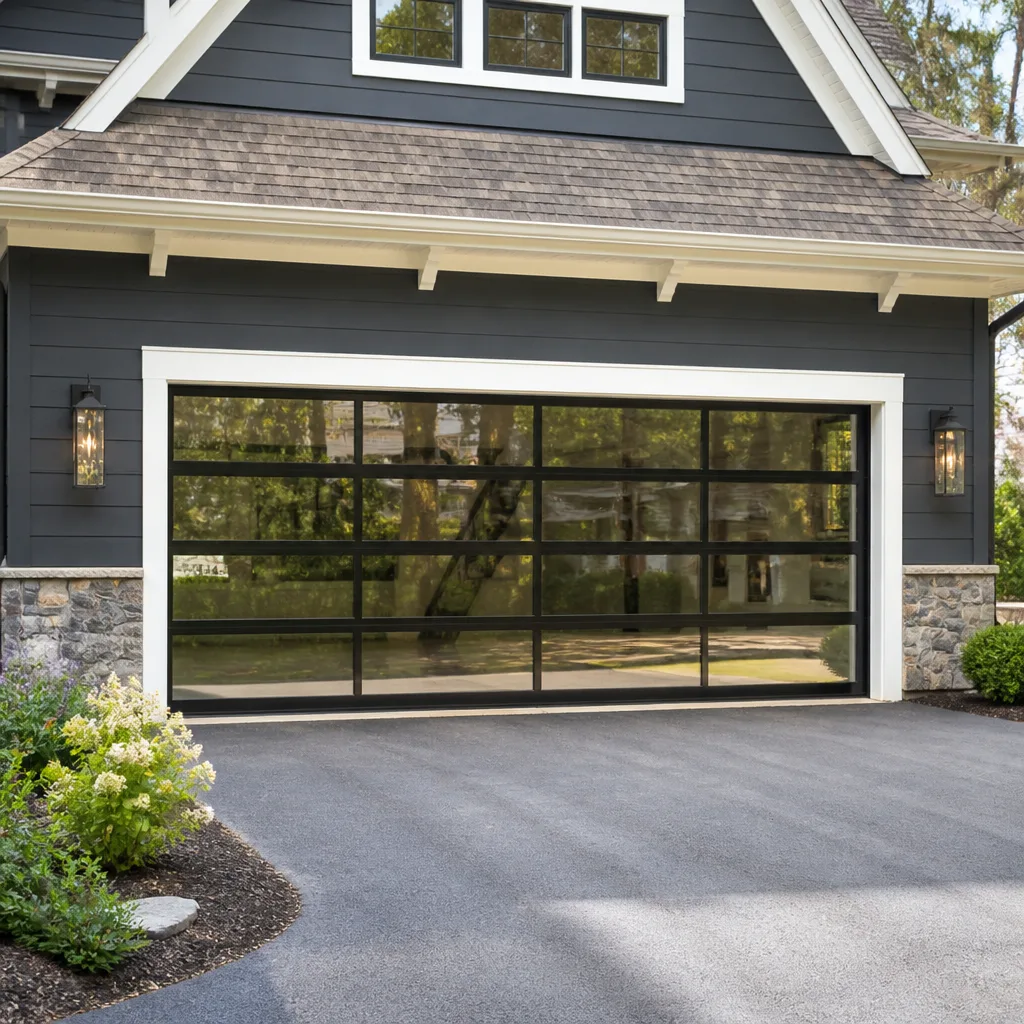 Full-view glass
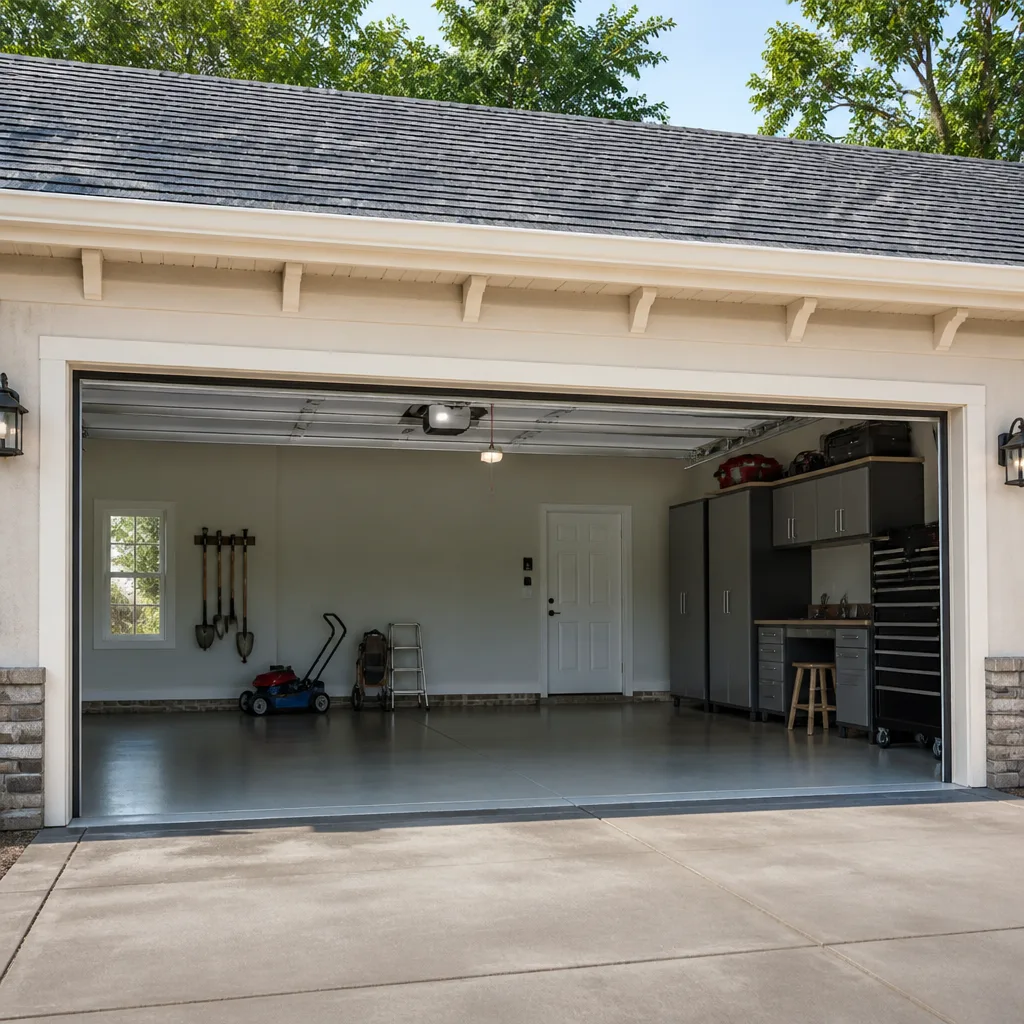 LiftMaster openers
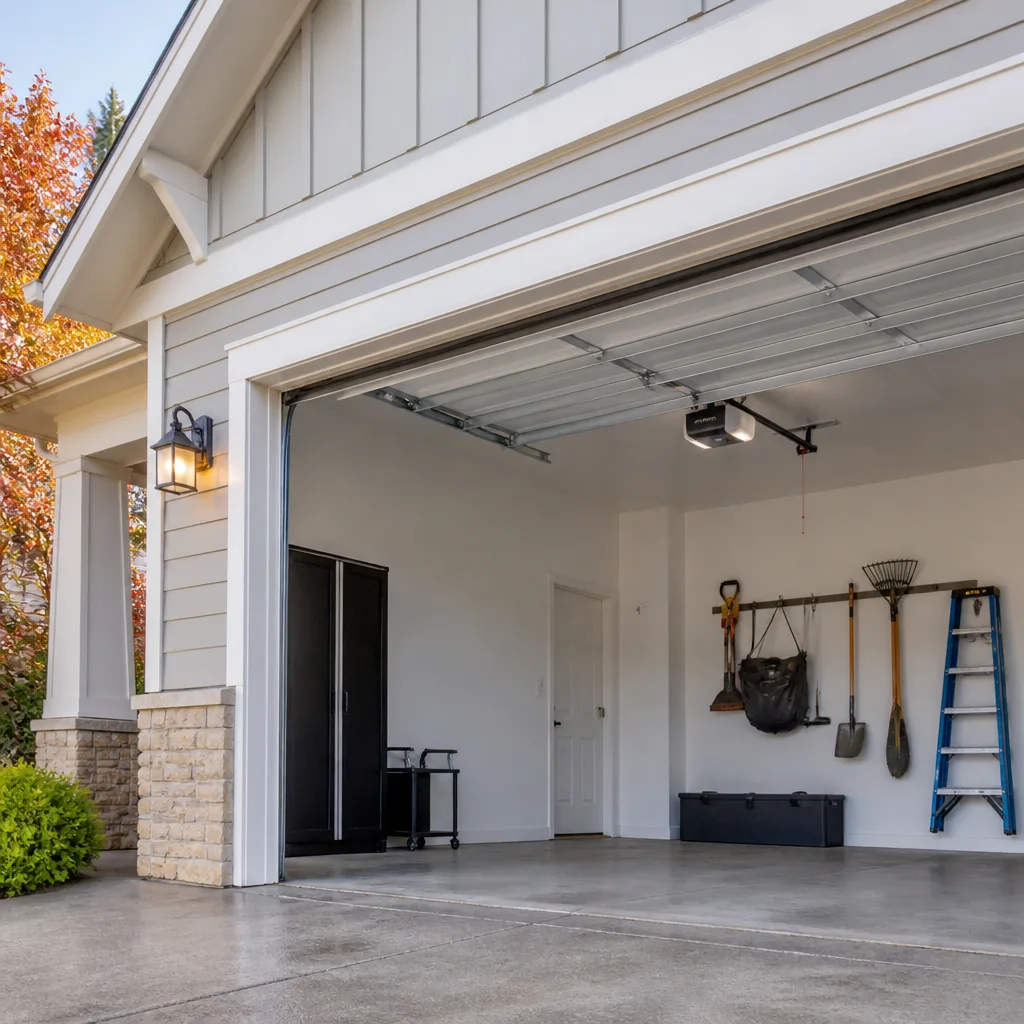 Chamberlain openers
Full 25-point door and opener safety check with every visit - springs, cables, rollers, tracks, and your LiftMaster or Chamberlain opener included
You get a price before we start. It does not change when the pro arrives.
Get your free estimateDIY vs Professional Garage Door: The Wesley Chapel Homeowner’s Decision Guide
Most advice on this topic is dishonest in one direction or the other. Handyman forums insist that anything short of a torsion spring swap is a Saturday afternoon project. Liability-conscious service companies insist you shouldn’t touch even the wall button. Neither is useful. The honest split for a Wesley Chapel homeowner runs along one question: does this task carry stored energy or a wind-load code implication? If it does, the risk-to-savings math never works. If it doesn’t, you can absolutely do it yourself. This guide draws that line task by task, explains the mechanics behind the dangerous ones, and shows you how to prepare so a technician spends less billable time on the easy work.
Quick Answer
You can safely handle weatherstripping, sensor alignment, hinge and roller lubrication, and opener remote programming yourself. Torsion and extension springs, cables, and the bottom bracket assembly should always go to a trained professional, because those parts hold tens to hundreds of pounds of stored force. Our technicians have up to 12 years of experience and we work on the brand already in your garage, from Clopay and Amarr to Wayne Dalton and Craftsman.
Styles & brands we work with
- Raised-panel steel
- Carriage house
- Modern flush
- Full-view glass
- LiftMaster openers
- Chamberlain openers
Table of Contents
- The Line Between Safe DIY and Dangerous DIY
- Why Torsion Spring Replacement Never Makes DIY Sense
- Florida Wind-Load Certification and Your Hurricane-Rated Door
- The Safe DIY Task List, Step by Step
- The Middle Path: Prepare, Diagnose, Document
- Cost Reality Check: Parts Savings vs. Diagnostic Value
- How Wesley Chapel’s Heat and Rain Shape Your Door’s Life
- Common Mistakes to Avoid
- When to Call a Professional
The Line Between Safe DIY and Dangerous DIY
A garage door is a system under constant spring tension. Every moving part lives between 130 and 200 pounds of counterbalance force depending on door weight. That single fact organizes the entire DIY question, because force you can’t release safely is force you shouldn’t work behind. Hardware mounted to the door itself – hinges, rollers, panels – is light and forgiving. Hardware that holds that tension is not.
Here’s the practical division we explain to homeowners across Wesley Chapel every week:
- Safe to DIY: weatherstripping replacement, photo-eye sensor alignment, track cleaning, hinge and roller lubrication, opener remote and keypad programming, visual inspection.
- Professional only: torsion spring and extension spring replacement, cable replacement, bottom bracket repair, track replacement after impact, opener motor or logic board repair, and any work that requires adjusting the spring tension.
- Tricky middle: opener gear and sprocket replacement, roller replacement on a door that hasn’t been rebalanced, and adjustment of the up and down travel limits. These are not immediately dangerous but are easy to get wrong in a way that damages the opener or the door over time.
If the part you’re looking at is bolted to the header above the door and holds the door up when it’s closed, it’s on the professional list. That’s the rule we suggest Wesley Chapel homeowners memorize. It’s faster than looking up each component, and it catches every genuinely dangerous job on a residential door.
Why Torsion Spring Replacement Never Makes DIY Sense
A torsion spring is wound steel that has been rotated 25 to 30 quarter-turns and stored in place by two set screws in a winding cone. That stored torque is what lifts the door. When you release those set screws without the winding bars holding that tension, the cone can spin loose and the bars can shear out. That’s not a scare tactic, it’s the physics of why spring replacement has a documented injury rate that no other garage door task comes close to.
Walk through what the job actually requires and the DIY argument falls apart fast:
- Identify the correct spring. Springs are specified by wire gauge, inside diameter, and coil length to match your door’s precise weight. A Clopay 8-foot door and a Wayne Dalton 7-foot door in the same Wesley Chapel neighborhood often need different springs. Buy the wrong one and it works for six months, then fails.
- Unwind both springs safely. Requires two properly sized winding bars, correct rotation direction, and the physical strength to control the bars while the tension releases. A slip at this step breaks fingers and wrists.
- Remove the set screws holding the old springs. These frequently seize from heat and humidity. Getting them loose without stripping the cone or marking the torsion tube takes more than a socket set.
- Mount and wind the new springs. Both springs must be wound the same number of turns in opposite directions. An imbalance here means one spring carries more load and fails early.
- Balance the door and adjust the opener. After a spring change, the door must lift and stay level, and the opener’s travel limits and force settings need rechecking. This step is where most DIY spring jobs fall down – the wrong force setting on a LiftMaster or Chamberlain unit can cause the opener to burn out its gear.
A spring that fails while you’re winding it releases energy in less than a second. There’s no version of that DIY you can rehearse safely. This is the single task where we tell every homeowner we talk to: don’t. Our garage door spring repair is the job we take most seriously, and it’s the one we handle as a named specialty rather than a general repair call.
Florida Wind-Load Certification and Your Hurricane-Rated Door
Most newer Wesley Chapel homes have a garage door rated and labeled under Florida’s wind-load requirements. That label isn’t a marketing sticker. It’s a certification that the door as installed – door, springs, tracks, hinges, anchor points – meets a specific design pressure when closed. Change the wrong component and the certification no longer reflects what’s hanging on the opening.
What that means in practice:
- Reinforcement struts, center posts, and specific anchor bolt patterns are part of the rated assembly. Swap or omit any of them and the door is no longer the door that was rated.
- Springs aren’t part of the wind rating, but broken springs are. A door with a failed spring may not close fully against the weatherstrip, which is exactly what the rating assumes it will do in a storm.
- Panel replacement is a certification question, not just a parts question. A matching-paint panel from a different manufacturer can look identical and not be rated for your door’s design pressure.
- Your insurance carrier may care. If a claim later involves wind damage at the garage opening, the adjuster will look at whether the door is in its rated configuration. That’s not something we can promise an outcome on, but it’s the reason we ask about the label before quoting any panel or hardware swap.
If you’re installing weatherstripping or adjusting sensors, none of this comes into play. If you’re cutting, drilling, or replacing structure or hardware on a hurricane-rated door, stop. Ask your city building department whether a permit is required before you touch it, and ask us whether the replacement part maintains the rating. That’s a two-minute phone call that protects a much larger investment than the part itself.
The Safe DIY Task List, Step by Step
These are the four jobs we’d hand a homeowner a parts list for without hesitation. All of them are on the low-force side of the door and none of them affect the balance or rating of the assembly.
1. Replace the bottom weather seal
- Measure the door’s width and note whether the seal slides into an aluminum retainer or is nailed to the bottom section.
- With the door fully open, pull the old seal out of the retainer, or pry the nails out if it’s the older style.
- Slide the new seal in from one end, or nail it centered so it overlaps the door edges evenly.
- Close the door and check that the seal contacts the floor across the full width without gapping.
2. Align the photo-eye sensors
- Look for a small LED on each sensor. A steady light on both usually means alignment.
- If one is dark or flickering, loosen the wing nut and adjust the sensor head until the LED steadies.
- Confirm the door reverses when you pass a hand through the beam about six inches off the floor.
3. Lubricate hinges and rollers
Use a garage-door-specific spray, not WD-40, on the hinge pivot points and roller stems. Skip the tracks – tracks stay clean and dry. Two or three passes a year handles Wesley Chapel’s dust and humidity just fine.
4. Program a remote or keypad
Every opener brand has a slightly different pairing sequence. LiftMaster and Chamberlain typically press a learn button on the motor head; Genie models usually use a programming button on the receiver. Match the remote model to your opener’s brand before you start.
The Middle Path: Prepare, Diagnose, Document
Here’s the part most DIY guides skip. You don’t have to choose between full DIY and full-service. The homeowner who spends 15 minutes preparing before a technician arrives can cut real time off the call. Because the technician diagnoses faster, you often pay less for the visit.
Do this before we arrive:
- Write down the make and model of your door and opener. There’s a label on the motor head of most openers and often a spec tag on the door’s bottom section. A photo works.
- Note exactly what the door does and doesn’t do. Won’t open from the remote but works from the wall button is a different problem than won’t open at all. “Sometimes stops halfway up” points to a different diagnosis than “won’t move.”
- Jog the door by hand if it’s safe to do so. Disconnect the opener with the red release cord and lift manually. If it’s heavy, binds, or won’t stay up around halfway, that’s a spring or balance issue and it’s the most useful thing you can tell us.
- Take a photo of the torsion bar and springs. One clear shot of the springs, one of the opener motor head, and one of the tracks saves a phone call.
- Locate your hurricane-rating label. If it’s a rated door, we need to know before we order parts.
This is where the diagnostic value a technician brings pays for itself. A trained tech with up to 12 years of experience can identify the failure in the first couple of minutes. Panels, springs, cables, opener gears, limit switches, and safety sensors all fail differently, and a written description plus a couple of photos means the correct parts come on the first visit. For repair calls we dispatch from 7am to 7pm, Sunday through Friday. Call garage door repair before 10am and same-day service is often possible.
Cost Reality Check: Parts Savings vs. Diagnostic Value
The DIY math usually gets made with the part price on the left and the technician’s total on the right. That’s not the real comparison. Add these to the DIY side and see how many jobs still pencil out:
- The part may be the wrong part. Buying a spring or opener gear that doesn’t fit means a return trip, a second order, and days with a door that doesn’t work.
- Your time has a cost. A spring change is a 60-90 minute job for a trained tech. It’s a half a day or more for a first-timer, plus the risk of injury or a secondary failure.
- Diagnosis is most of the value. The reason a professional call is worth it on anything mechanical is that the diagnosis catches the actual failure and any secondary problem – a failed spring that has also bent the torsion tube, or an opener gear that’s stripped because a roller is frozen.
- Improper repairs cause repeat failures. A spring that’s slightly off-spec or an opener force setting that’s too high both “work” at first and fail in a few months. That’s more expensive than a correct first repair.
The jobs where DIY actually saves money are the four in the safe list. Weatherstripping, sensors, lubrication, and programming are all cost-effective for a handy homeowner. Everything on the professional list has a parts-savings upside that’s smaller than the risk and the diagnostic value you give up. When we quote a spring repair or a garage door opener repair, the price is written and agreed before any work starts. There’s no invoice surprise waiting at the end.
How Wesley Chapel’s Heat and Rain Shape Your Door’s Life
Wesley Chapel’s climate is rough on a garage door in specific, predictable ways. Summer heat and humidity work on the components more than most homeowners expect, and knowing which parts wear faster helps you decide what to DIY (maintenance) and what to leave alone (repairs).
- Heat accelerates spring fatigue. A torsion spring cycles through a certain number of expected open-and-close cycles, but high temperature and humidity shorten that. Springs here often fail earlier than the cycle count alone would suggest. That’s not a reason to attempt the replacement yourself – it’s a reason to have a technician check the springs during any other repair visit.
- Weatherstripping dries and cracks faster. This is why it lands on the safe DIY list. It’s cheap to replace, it matters for water intrusion and pest exclusion, and it’s easy to do correctly.
- Lubrication seasons matter. Spring and fall are the natural times to hit hinges and rollers. Summer dust and humidity will dry out lubrication faster than in cooler months.
- Wood doors swell slightly in humid months. If you have a wood or wood-composite door from Clopay or Amarr, expect small seasonal movement at the panel joints. It’s normal. Warping, sagging, or binding is not – that’s an adjustment question for a technician.
- Storms catch doors in the middle of a cycle. Power flickers during summer storms are a common reason an opener needs a re-limit or a reset. If a storm rolls through and the door stops responding, that’s usually an opener logic issue, not a mechanical failure – and it’s often resolved on a single service call.
None of this is a reason to replace a door that’s working. It’s a reason to treat the door as a machine with maintenance needs, not a fixed piece of trim. A door that gets an annual visual check, two lubrication passes, and a proper weather seal replacement when it starts to gap will usually run for years past the point where an ignored one starts failing.
Common Mistakes to Avoid
- Winding a torsion spring without the proper winding bars. Screwdrivers and sockets aren’t rated for the torque and they slip under load. This is the single most common cause of the injury statistic that makes the task professional-only.
- Calling a general handyman for a spring job. Garage doors are their own mechanical specialty. A handyman who’s never worked a torsion bar is no safer than you are. Ask whether spring work is a named service, not a side note on a general repair list.
- Assuming all openers are wired the same. A Craftsman remote will not pair with a Genie unit, and a Chamberlain logic board is not interchangeable with a LiftMaster one. Match the brand before you buy anything.
- Using WD-40 on hinges and rollers. It’s a solvent, not a lubricant, and it dries out the pivots it was meant to protect. Use a product labeled for garage doors.
- Cutting into a hurricane-rated door to add hardware. Any drilling into a rated door panel can affect the certification. If you’re in a Wesley Chapel home built or renovated after the wind-load code requirements took effect, ask before you drill.
- Force-adjusting the opener to compensate for a heavy door. Turning up the force limit on a LiftMaster or Chamberlain unit masks the real problem – usually spring fatigue or a binding track – and burns out the gear over time.
- Ignoring a broken spring “because the opener still lifts the door.” It will for a while, and then the opener gear fails too. Two problems cost more than one.
When to Call a Professional
Call a professional the moment the task involves stored force, a hurricane-rated assembly, or a symptom you can’t isolate with the safe DIY checklist. Concrete scenarios: your door won’t close, won’t open, opens partway and reverses, a spring is visibly broken, a cable is frayed or hanging, the door has been hit and a panel or track is bent, or the opener runs but the door doesn’t move. Those are all outside the safe list. Wesley Chapel Garage Door Repair Pros offers free estimates in Wesley Chapel. Call (877) 657-1302 and we’ll get a technician out. We answer 24/7. Fast dispatch from 7am to 7pm, Sunday through Friday. Emergency calls get priority on the dispatch list, and the price is quoted and agreed before any work starts.
See the difference
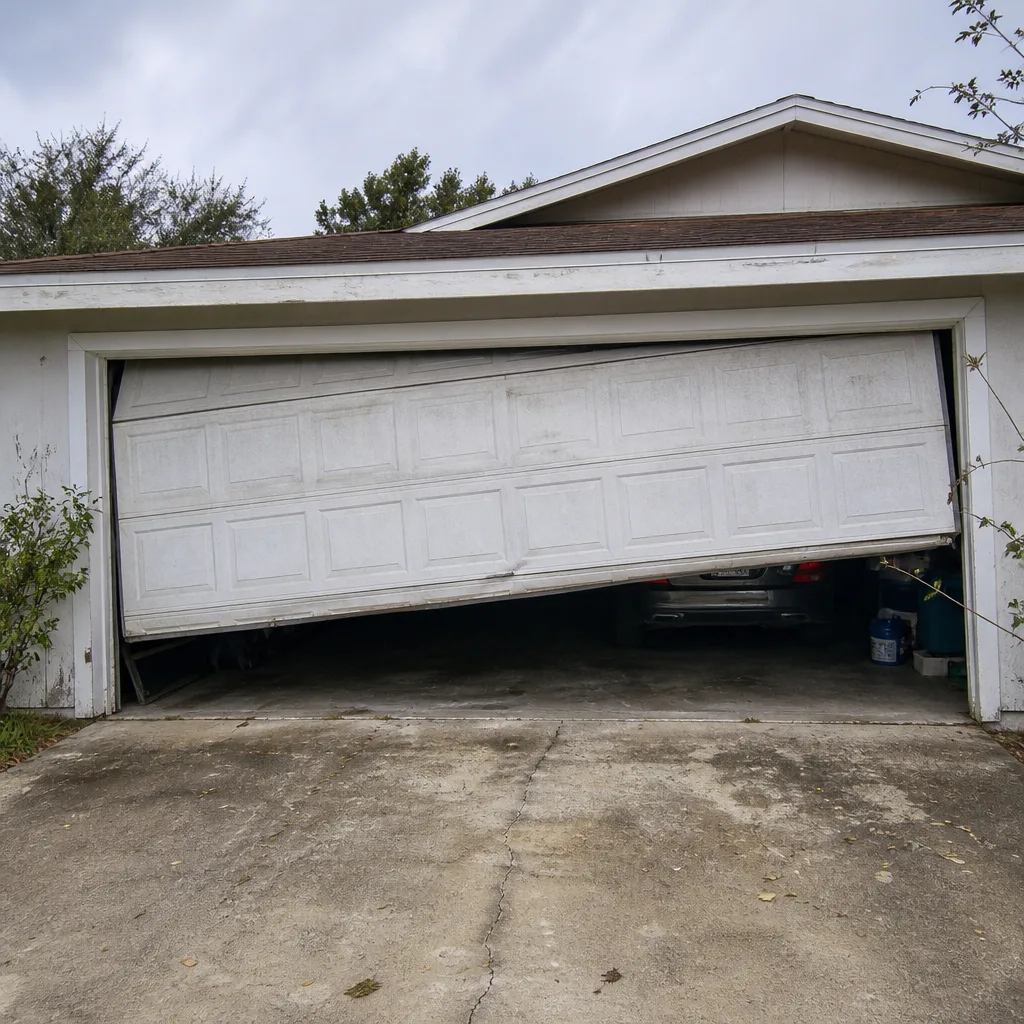 Before
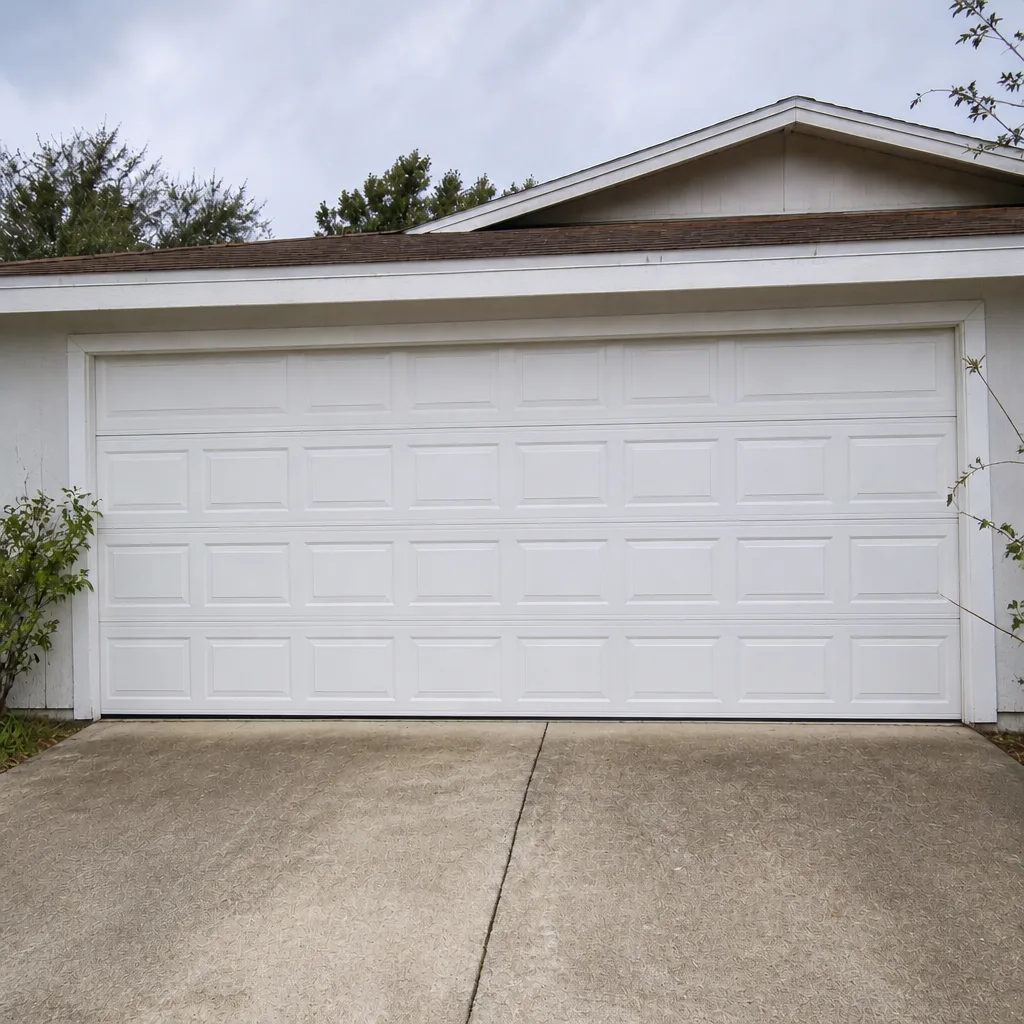 After
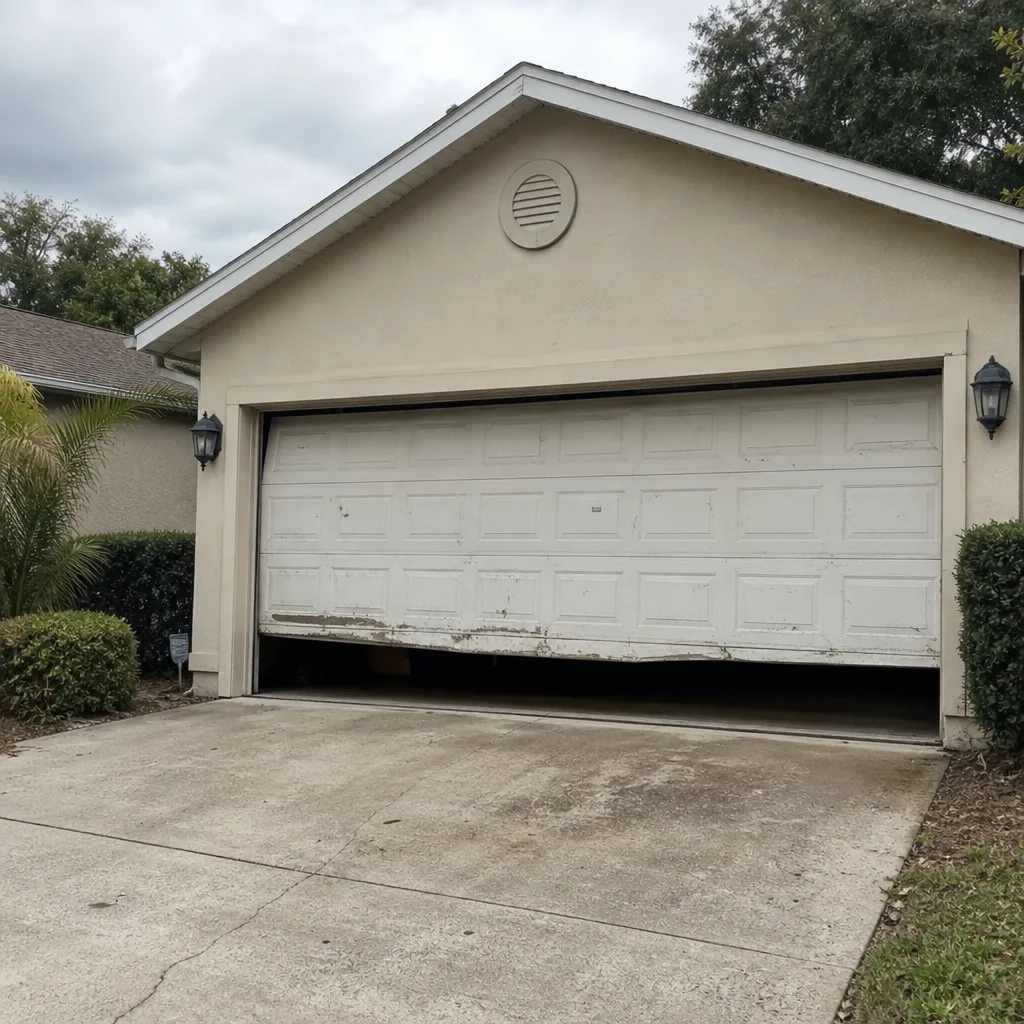 Before
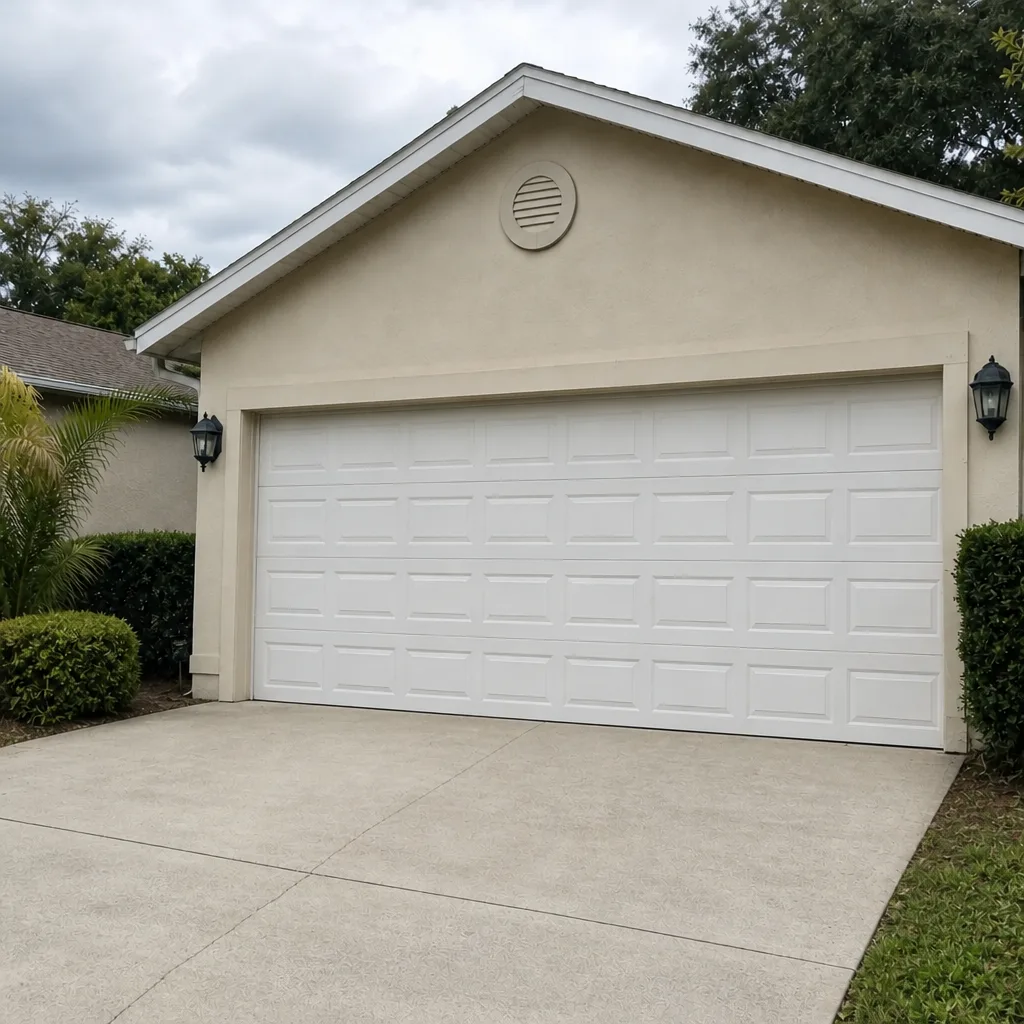 After
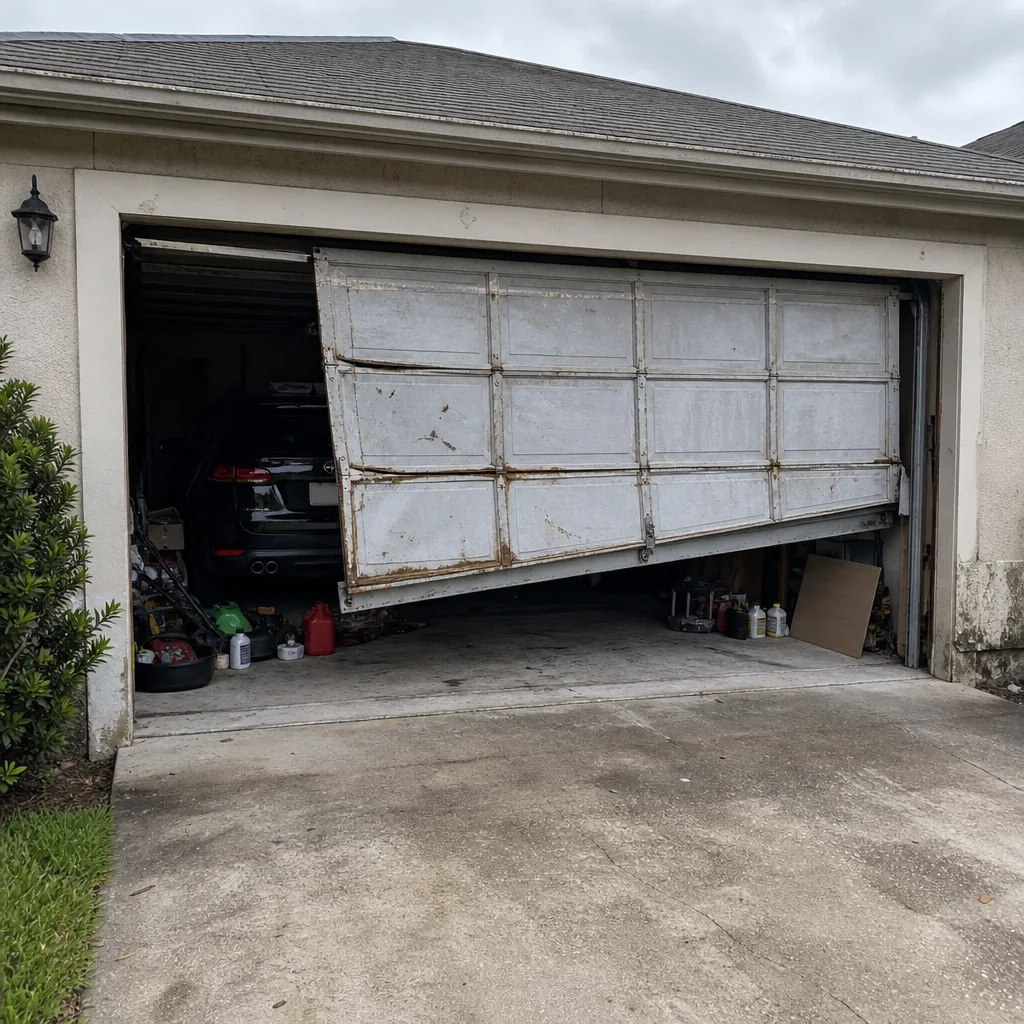 Before
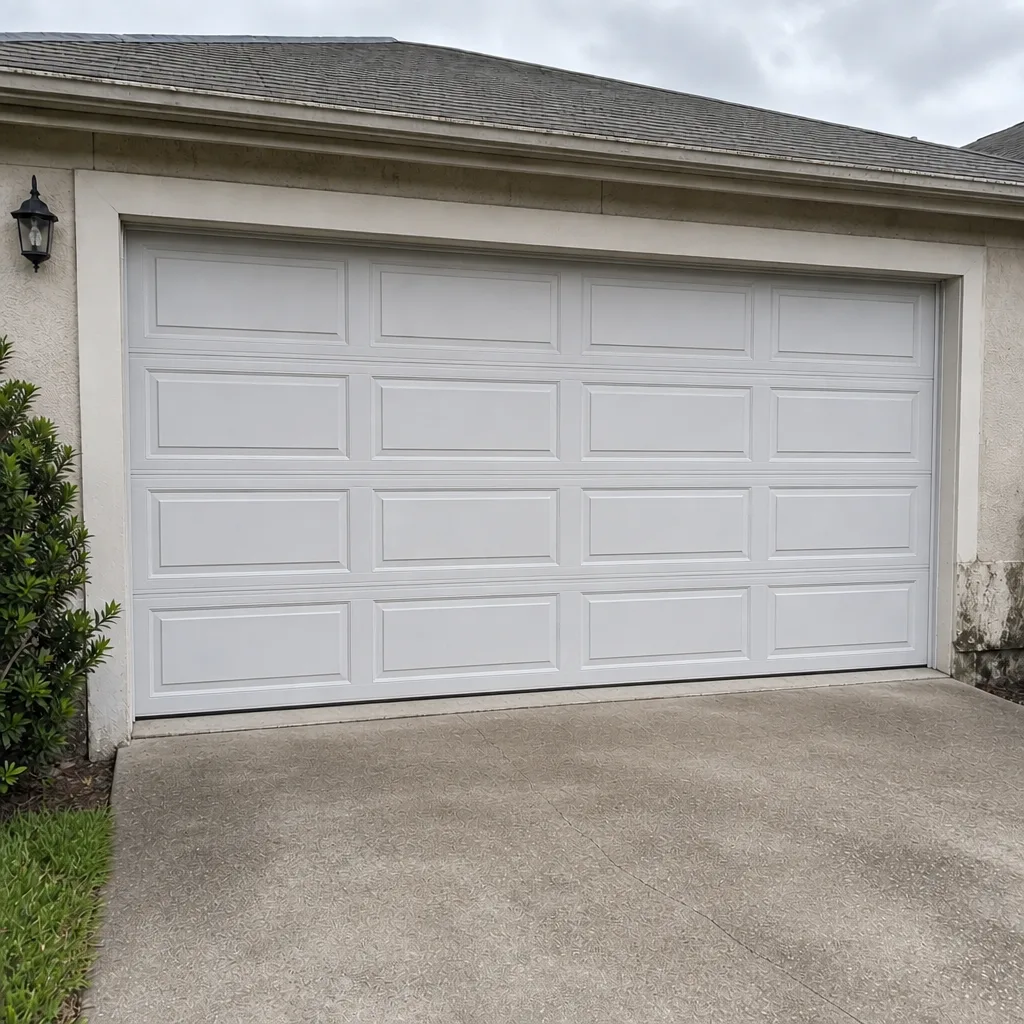 After
Frequently Asked Questions
No. Torsion springs hold 130 to 200 pounds of torque when wound, and releasing that energy incorrectly can cause serious injury in under a second. Even experienced DIYers should not attempt a spring replacement. Our technicians have up to 12 years of experience and spring repair is a named specialty on our service list. Call (877) 657-1302 for a free estimate.
It can, yes. Hurricane-rated doors are certified as installed assemblies, and changes to reinforcement, anchors, or hardware can mean the door no longer matches the rated configuration. In Wesley Chapel, where newer construction often has a rated door, it’s worth a call to the city building department before making any structural changes and worth checking with us about whether a replacement part maintains the rating.
Yes. Sensor alignment is one of the safe DIY tasks. Loosen the wing nut, adjust the sensor head until the LED steadies on both sensors, and test by passing a hand through the beam about six inches off the floor. If a sensor stays dark after adjustment, or the door still reverses without an obstruction, it’s an opener logic issue and you should call us.
Spring repair is priced per job by a written estimate, and we don’t give a number before we’ve seen the door because the correct spring depends on the door’s weight and configuration. The estimate is free and the price is agreed before any work starts. Our Wesley Chapel Garage Door Repair Pros team can quote over the phone for most standard cases. Call (877) 657-1302 to schedule.
The local professional we connect you with is licensed and insured as their state requires. Our technicians have up to 12 years of experience and we work on the brand already in your garage, including Clopay, Amarr, Wayne Dalton, Craftsman, LiftMaster, Chamberlain, Genie, and Raynor. Call (877) 657-1302 for a free estimate.
No. We quote the job, you agree the price, and that’s the price we bill. If the situation on site doesn’t match what we discussed, we’ll tell you before any work starts and get your approval for the revised scope. To get a quote started, see our Wesley Chapel Garage Door Repair Pros page or call (877) 657-1302.
The Bottom Line
The DIY vs. professional decision on a garage door is simpler than most guides make it. Weatherstripping, sensor alignment, lubrication, and remote programming are safe, cost-effective DIY jobs. Springs, cables, bottom brackets, and any structural change to a rated door are professional-only, not because we’re being cautious but because the mechanics leave no room for error. The middle ground is real too – the more you can document and diagnose before a technician arrives, the less time the visit takes. If you’re in Wesley Chapel and you’re not sure which side of the line a task sits on, get it looked at. Free estimates, and a written price before work starts.
Contact
Ready to know what your job actually involves? Call Wesley Chapel Garage Door Repair Pros at (877) 657-1302 for a free estimate. We answer 24/7 and dispatch from 7am to 7pm, Sunday through Friday. We cover the full scope – from routine repair to emergency service – so you don’t need a second vendor as your needs change. From worn springs to full replacements, one call covers it.
Written by the team at Wesley Chapel Garage Door Repair Pros.